11/7/2009
Invites went out on 9/5!
These were by far the most stressful part of the wedding for me. I was so busy with work I didn't think I would get them out on time. I also decided to tackle them myself and DIY because I couldn't find anything I liked. Once I got everything printed and had all the material a good friend helped me assemble them and FI happily stuck the stamps on the envelopes. I designed them in Microsoft Publisher, bought the paper from www.paper-papers.com, bought the perfetto pocketfolds from www.cardsandpockets.com, and had them printed and cut at Kinkos. I'm very proud of them . I initially couldn't commit to a design but I finally went with what I consider to be my best idea. I'm so happy I finally got them mailed out!

Invite

Inserts


Envelope with cake stamps

Wax seal for envelope


RSVP Envelope with ring stamps

Belly band closures for pocket invites


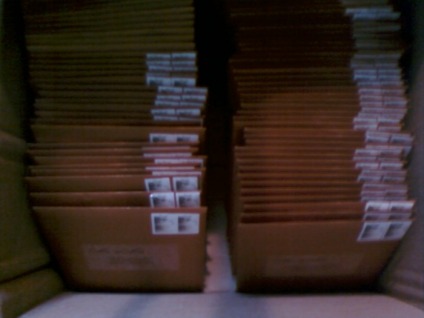
Ready to go to the post office!
Save the Dates

They're not exactly DIY because I bought them from www.magnetstreet.com but I uploaded the pic and selectd the font and what I wanted written on there.
Programs and Menu: Updated as of 10/27/09
I've since changed the design on the programs and menus. I went with a smaller ribbon and used the our monogram on the programs and same with the menus but instead used the word "menu" in our monogram box instead of our names.


Custom Sign and Monogram Cake Topper

Thanks Crafty Eddy! I love these. I'm gonna tackle the task of applying the crystals on them once they come in. The last name sign will be used in front of the cake. I bought these from Crafty Eddy ([email protected]) for such a reasonable price. Including shipping it only cost me $43. For a custom sign that's not bad at all! They came in so quickly too. I ordered them on 9/23 and they came in on 9/28.


Here is my monogram cake topper. I used flatback rhinestones from Dreamtime Creations and I used sizes SS9 and SS12. The colors I used are Golden Shadow, Light Colorado Topaz, and Silk. These colors gave me more of a golden look I was going for.
Bridesmaid and MOH Jewlery

My MOH and I made these. Suprisingly they were much easier to make than I anticipated. I bought all the material from Michaels. The first design my two MOH's will be wearing and the second design 2 of my 4 BM's will be wearing meaning I still have to make another design for my other 2 BM's. I'm very pleased with the results!


